For my next project I chose something a bit more ambitious. It was something I had never tried before, but feeling bolstered by my first success I was eager to try something more challenging. I wanted to create art out of our wedding song lyrics. This seemed perfect since our 8th anniversary was coming up and I wanted to give my hubby something we both could enjoy.
So armed with the knowledge from
This Humble Home, I set about making this new project a reality. First of all I decided since I was going to do this as a gift for my hubby, I was going to splurge for the canvas. It is a bit more pricey, but I found a good deal at
Michaels for a four pack of 6X6 stretched canvases. I got 3 packs, which leaves me three left over for future use. I already have them ear marked, so it was a good investment. Since I just started crafting I also grabbed a bottle of
Gloss Mod Podge,
Mod Podge Acrylic Sealer and a package of 65 Lbs Card Stock. For everything I bought at Michaels, it cost around 80.00 dollars and then I picked up Black Acrylic paint and sponge brushes at the dollar store for around 2.00 bucks.
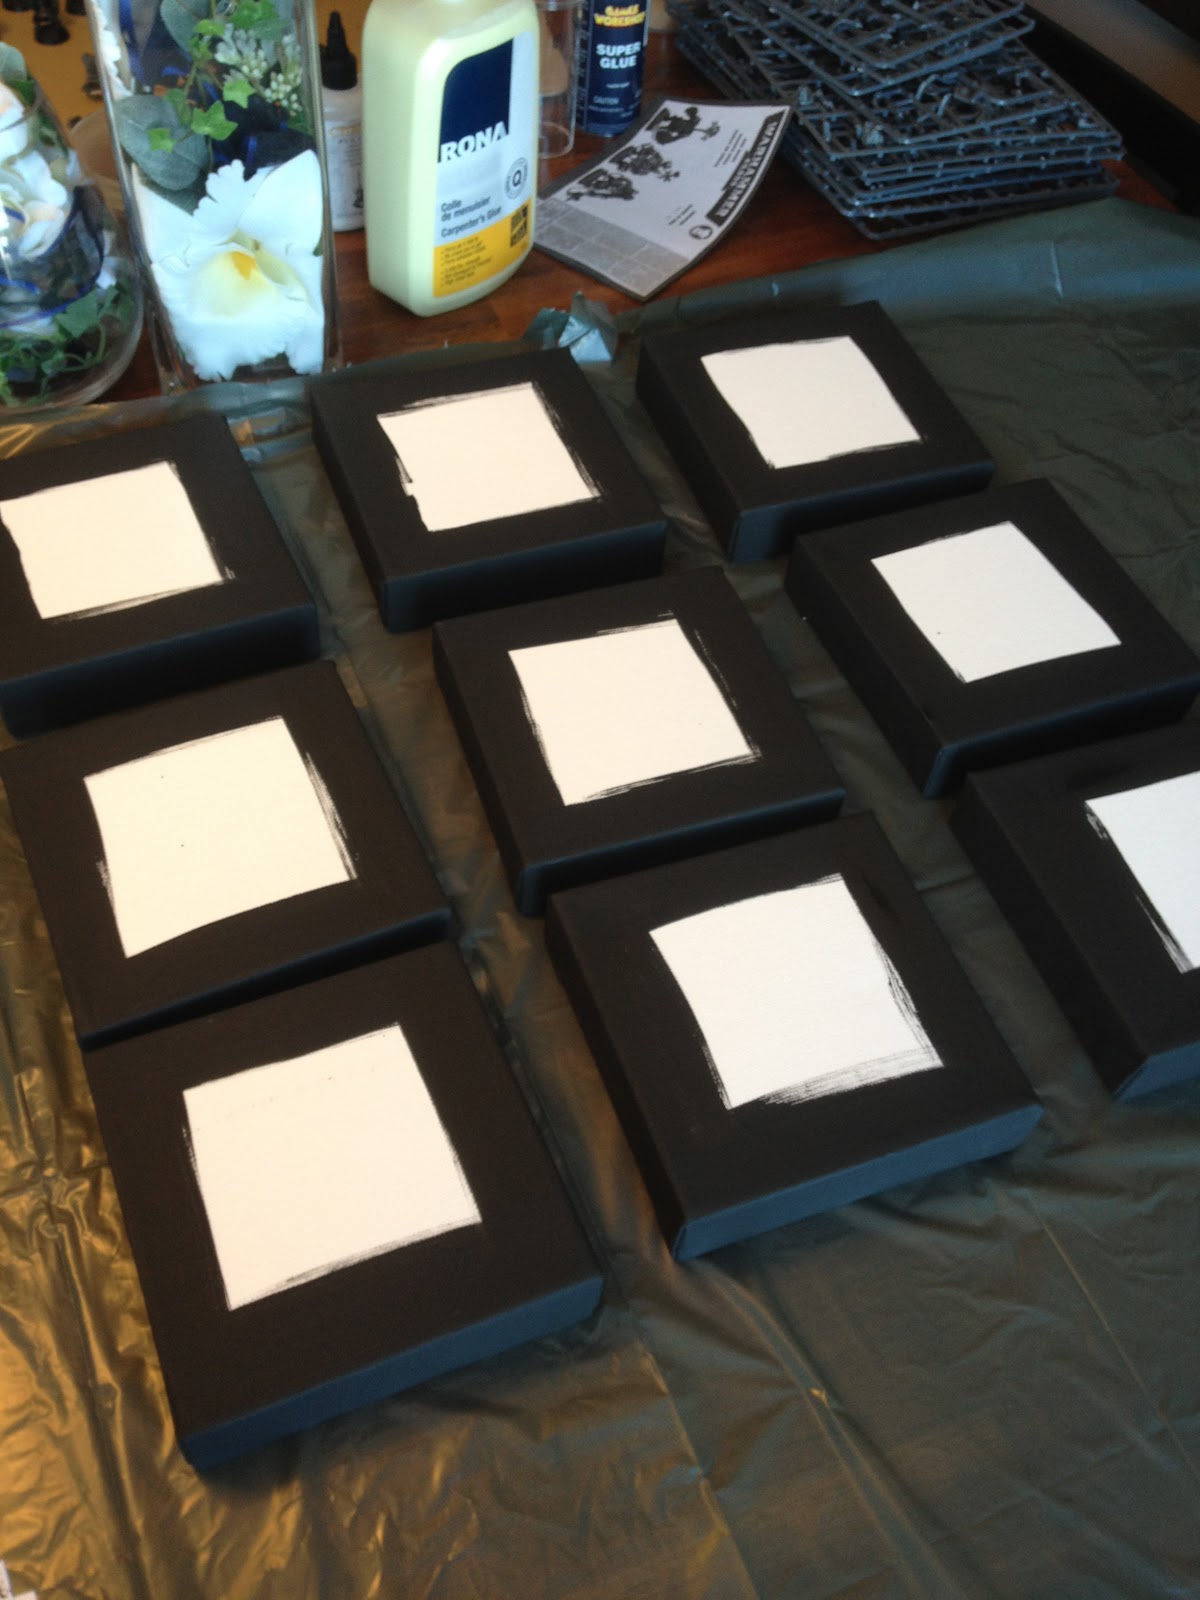
I started off by taking my nine canvases and painting the sides black. I did this the night before I started the project since I wanted them to dry really well before doing anything fancy. I ended up using two coats of paint per canvas, since after the first coat dried, it was a little streaky. I should mention that I should have also painted a black border on top of the canvases as well at this point. I didn't and ended up doing it the next day and waiting for the two coats on that to dry as well. Not fun watching paint dry when you are chomping at the bit to start the next step!


The next thing I had to do was create the written lyrics. As per the instructions on the blog I needed Adobe Illustrator. Since I didn't have this program and I didn't want to shell out any more cash, I downloaded the free 30 day trial version. As long as I completed the project within the 30 days, I would be fine. I created nine 6X6 art boards in a row and created a large text window over the boards. I then cut and pasted the lyrics of our wedding song onto the art boards using 3 different fonts to separate each line of the song. I had to use the whole song plus a few lines over again, but the effect looked great and once they are up you won't be able to tell. When all was said and done I had created 5 lines of lyrics per art board. With Illustrator when you print the art boards and it will separate them automatically.
The blog suggested using 110 Lbs card stock, but I found the 65 Lbs ones worked fine. I printed them off and used a
scrap booking paper trimmer to cut them to shape. This I had bought a long time ago when I thought scrap booking may be my thing...it wasn't and this had been collecting dust ever since. I was glad to have it for this project though! I shudder when I think of cutting all nine boards out by hand! The first attempt at cutting failed, as I cut the lyrics out to be perfect 6X6. Each canvas was slightly different in their measurements and weren't very accurate. So after the first failing, I decided to mark the card stock using the actual canvases and used that to cut out the lyrics. This worked out very well and I only had to reprint that first art board! I also numbered the back of each lyric page and canvas while I was cutting. Since each one was unique, if anything got moved around I would know which page went with which canvas.


Now came the tricky bit. This was the part I had never done before. I cracked open the jar of Mod Podge and went to work with a sponge brush. I painted a thin coating of the Mod Podge on the canvas and carefully matched up the lyric sheet. I then pressed down and tried to get as many air bubbles as possible. As per the blog I was following, Mod Podge does get tacky very quickly and you have to work quickly as well. I found this to be accurate, and I also found that air bubbles do happen no matter what, but mine appear to have vanished as everything set.
I let the Mod Podge dry for about 15 minutes and then I went about sealing the sheets. The instructions I was following never used a sealer, but some people who had tried this project mentioned smudging occurring with the printed sheets. Since I wasn't sure what would happen on mine, I figured I would play it safe and use the sealer. I sprayed each sheet (now on the canvas) with the Mod Podge Acrylic sealer and let them dry for 15 minutes as per the packaging. Be forewarned, this stuff smells! Make sure you are outside, or in a well ventilated garage. I wouldn't want to do this in my house, but if you open all the windows it should be fine.
The next step was the most time consuming. A lot of waiting, but if you have stuff to do around the house this is a good time to get at it! I proceeded to coat the sheets with 3 thin layers of Mod Podge
I did make a bit of a mistake, but it actually turned into something nice! While using the Mod Podge, I wasn't exactly neat and a bit of it got onto the sides of the canvas. This left little spots of gloss on an otherwise matte finish. So when I was applying the last coat of Mod Podge to the sheets, I coated the sides as well! It gave the sides and nice glossy sheen to them and made everything look a bit more uniform. Bonus was it also covered up my mistake! Win-Win!
I was really happy with how this project turned out, and my hubby was thrilled with his gift. I finished it off with some picture hangers I got at the dollar store, so now all that is left to do is hang them! And I know just where too....